Shooter Development — the Eleanor Drill by Sage Dynamics
Making rapid transitions from precision to practical accuracy is what the Eleanor Drill from Sage Dynamics is all about, explains Aaron Cowan. He notes that there are thousands of shooting drills out there and that he uses those that suit his needs. If he can’t find a regular exercise that suits his needs, he will formulate a new one that does.
One of those needs that he sees is making the rapid transition from precision to practical accuracy, whether with a handgun or a rifle.
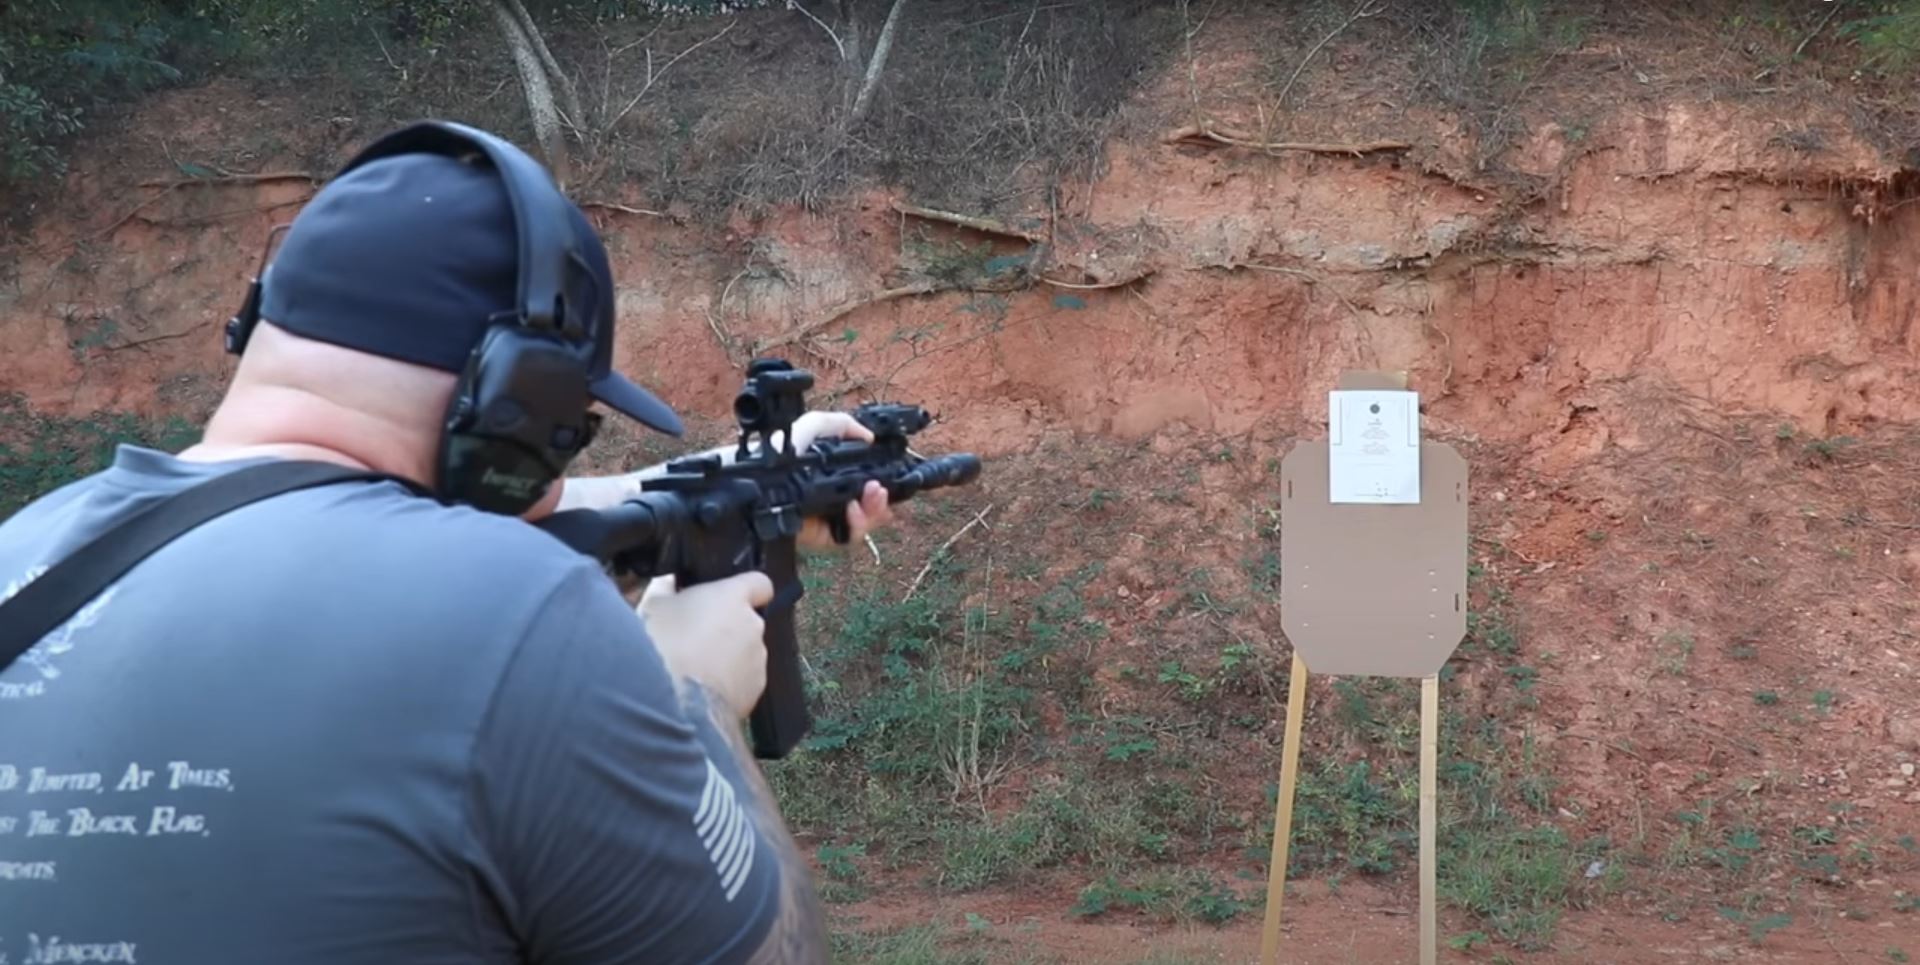
Aaron got the inspiration for the Eleanor Drill from watching the movie Gone In 60 Seconds. The drill requires one precision shot and a transition to three rounds of practical accuracy. He explains that the target he uses almost exclusively is the UTC, which has a reduced-size A-Zone (4×6 inches), making it roughly the size of a human heart. Being a self-defense instructor, much of what he teaches relates to human anatomy. He likes the smaller A-Zone because it forces students to be more controlled in their round placement on target. Despite the small size of that A-Zone, Aaron reduces it even further by making it 3×4 inches.
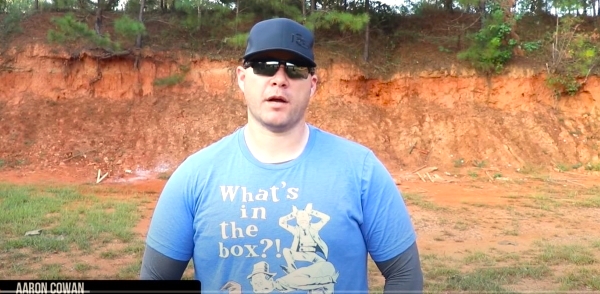
How To Run the Eleanor Drill
The drill begins by delivering one round of precision fire to the head of the target (the zone is a one-inch diameter circle in the head area). Aaron says that the most challenging part of the drill is the holdover portion for that one-inch precision shot from the handgun, which is fired at three yards. Next, the shooter makes a rapid point of aim change and goes into cadence fire, delivering three rounds inside that 3×4 inch box.
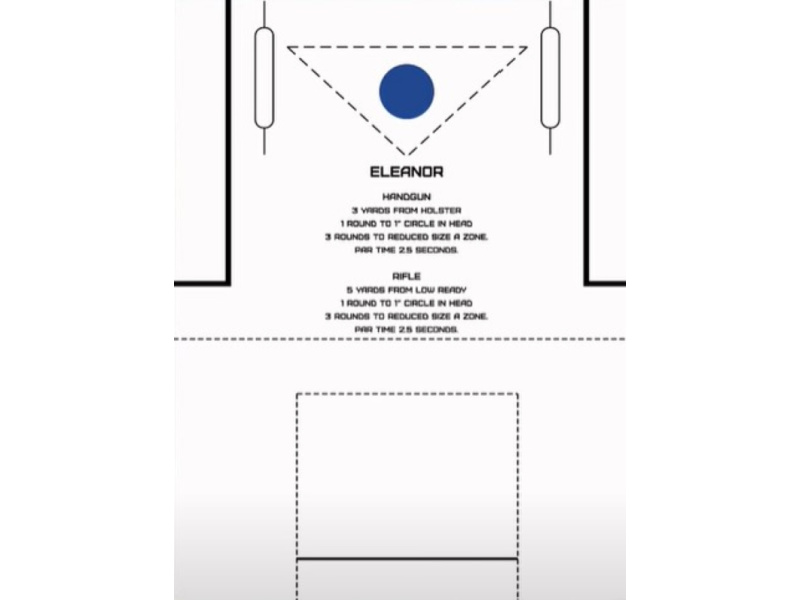
The time target for this drill is 2.5 seconds, regardless of whether the shooter is firing from concealment or a duty holster. When using a rifle, it’s fired from five yards with the shooter starting from low-ready position. Again, it’s 2.5 seconds, and the targets are the same as the pistol drill.
Holdover
Aaron mentions one of the factors, especially with red dot sighted handguns, is a holdover, which is the mechanical offset of the optical height, the zero distance, and the actual bore axis. He explains that if you’re very close to the target and have a 25-yard zero, you may have to hold a half-inch or higher to get point-of-aim, point-of-impact knowledgeably.
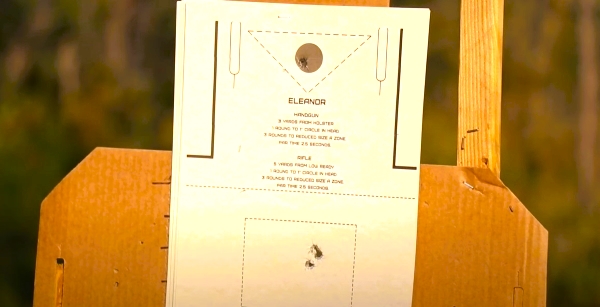
He points out that many people with red dot sights on handguns don’t believe it’s an issue outside five yards. While Aaron says that’s true; we should always strive to put our bullets exactly where we want them to go.
Why do the Eleanor Drill?
What’s the point of the Eleanor Drill, asks Aaron? He wanted something modular, so the Eleanor drill could be used when he is teaching red dots on handguns (and this also applies to iron sights) or various optics or iron sights on rifles. He does say, though, that it was initially developed with red dot sighted pistols in mind.
That precision shot, right out of the gate, starts things off. He notes that we see the metrics of time, distance, and accuracy in shootings. This drill provides all three. Even though you’re making that precision shot and relatively close to the target, Aaron says holdover is a crucial factor. Possibly more so with the rifle than the pistol (because of the higher height that optics usually sit on a gun). It forces students to learn holdovers because they will struggle with this drill if they don’t know them.
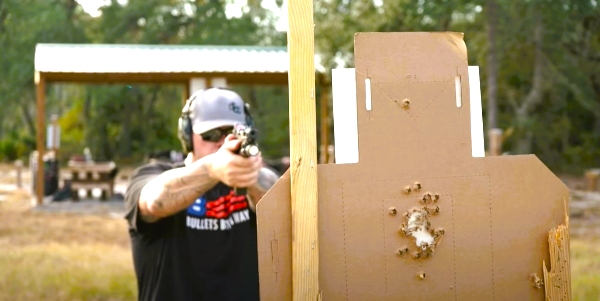
After that precision shot, you have to make a rapid aim change. The movement isn’t challenging; you’re going from the head to the high chest area, where you fire three rounds of cadence. Most people make their mistakes on the three rounds of cadence because they’re trying to beat the time. Because time is a factor, many people try to beat that clock, and that’s where they make mistakes on those three shots.
Distance and Movement
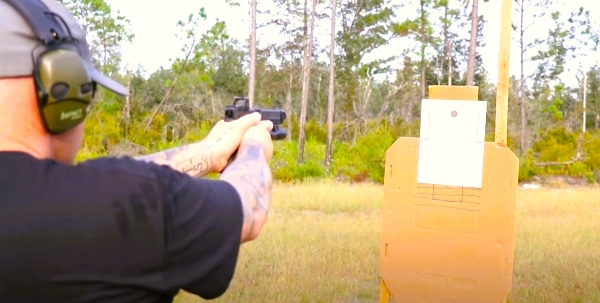
Aaron says that changing the point of aim in the transition, even though they’re close to the target, can pose a problem to many shooters. Overtravel can make things harder. In short, the shooter overcompensates and moves farther than they have to to make that transition. Practicing this drill will help you develop the discipline to stop when your sights hit that transition target. As Aaron notes, many exercises focus on moving from left to right, and those are fine drills, but moving from top to bottom or bottom to top is another factor that he feels needs to be added in. And the Eleanor drill is modular in that it works for handguns and rifles to reinforce those skills.
The drill can be shot at any distance the shooter chooses, but once you get back to about ten to fifteen yards, notes Aaron, that precision shot becomes challenging. It’s possible from ten yards, but unlikely that a shooter can do it repeatedly, given the target time frame of 2.5 seconds for the drill. Aaron says that, for the record, this drill is shot from three yards for the handgun and five yards with the rifle.
A note about the time limit:
How did he come up with the time limit for the drill? He sent it out to his friends in the shooting community and had them run it. They reported their best times, and then Aaron averaged them and came up with the time frame. He mentions that the shooter will attain the target time as long as the shooter applies all the shooting fundamentals correctly.
Aaron also mentions that the rounds can be “stacked.” The drill could start with the precision shot, fire the next three rounds of cadence, and then finish up with another precision shot (1-3-1). The shooter can also do any combination he wishes, such as 1-5-1, etc. There is no limit to how this drill can be shot. Aaron further cautions to keep the numbers reasonably simplistic so that shooters don’t get lost.
The Simplicity of the Eleanor Drill
I’ll jump in here and add emphasis to that point in that I’ve seen some drills that were so complex that it was nearly hopeless for shooters to remember the course of fire because of the complexity. Such drills do very little to build skills. Simpler does tend to be better. The Eleanor Drill is, I believe, simple enough to be effective in that regard.
Aaron also mentioned that the drill could be shot in boxes or different combinations if a second or third target is added. This would be very good for engaging multiple targets, which we definitely should become comfortable doing.
This drill is also designed to be shot cold. If you typically carry concealed, you’ll hit it from concealment. If you take on duty, then use your duty gear. Aaron finds that shooting from his duty gear allows him to have a slightly faster time, which he attributes to the fact that he doesn’t have to clear the cover garments that he wears when carrying concealed.
I like some aspects of this drill because it’s pretty simple, which leaves little chance of being tripped up during practice. Next, I like that it doesn’t use many rounds. As Aaron points out, if you shoot four matches per run, a box of 50 rounds will get you a decent amount of practice.
Sage Dynamics: Offset
As far as practicing for the offset, I think it’s generally a good thing, although I don’t tend to obsess too much about it. Unless I’m trying for a precision shot as a sniper (in which case I’d be further away than a couple of yards), I wouldn’t be too worried about hitting a one-inch target in a defensive encounter. Don’t get me wrong, there’s nothing at all wrong with precision, but at a certain point, you have to ask yourself how much time you’re willing to invest in hitting a precision target at self-defense ranges.
The drill is flexible enough if the shooter wants to expand it and add rounds, which is a good thing. In conclusion, this is an excellent video of a solid drill that will help develop skills of all skill levels. It is well narrated and explained. I highly recommend watching it.

